Hydraulic Brakes, Brake Pads, Brake Levers
About AVID
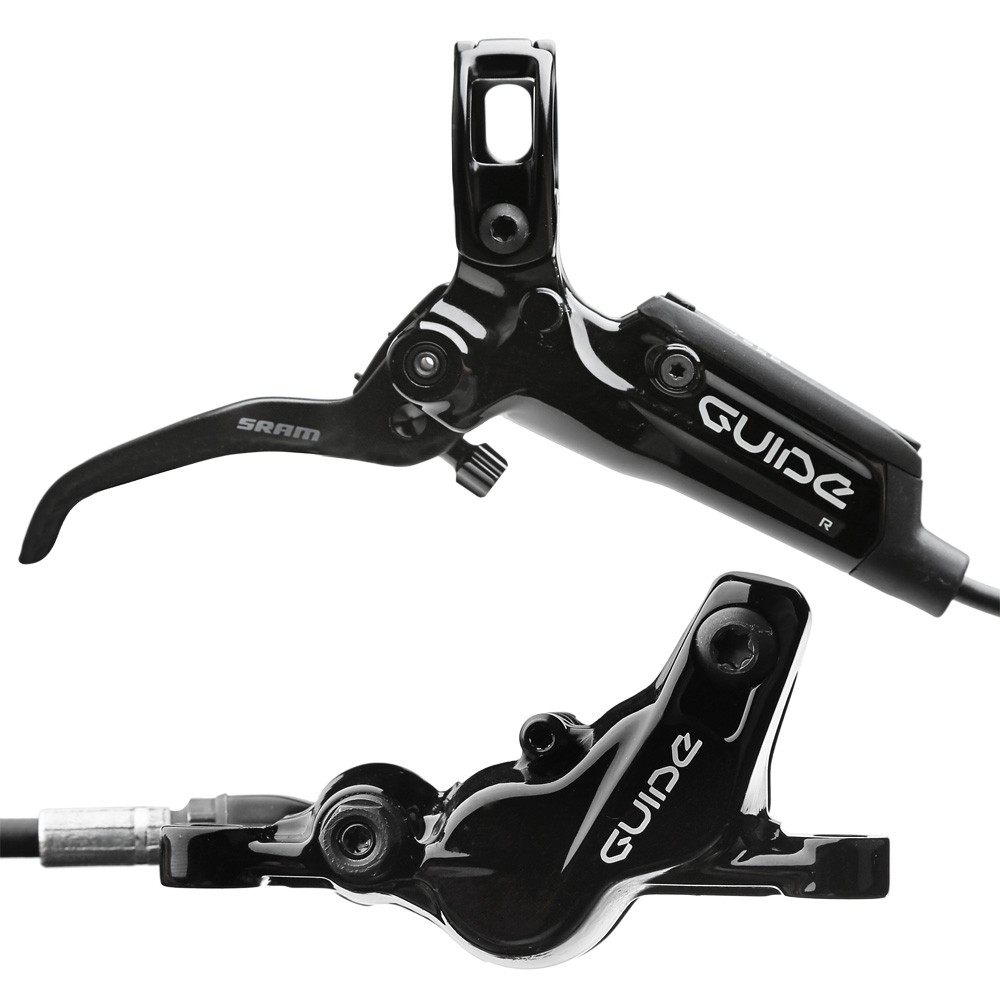
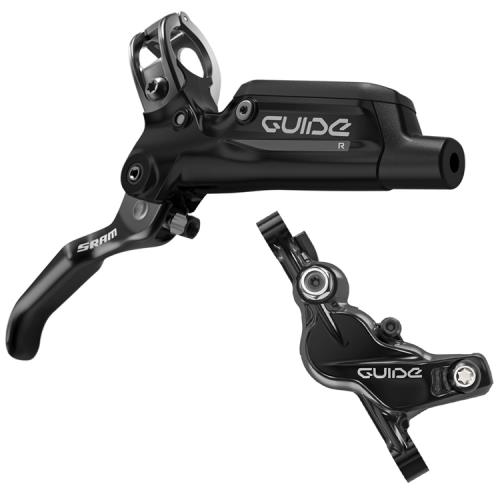
SRAM Corporation is a privately owned bicycle component manufacturer based in Chicago, Illinois, United States, founded in 1987. SRAM is an acronym comprising the names of its founders, Scott, Ray, and Sam. The company is known for producing cycling components, including some internally developed, such as Grip Shift, EAGLE (1x12), DoubleTap, dedicated 1x11 mountain and road drivetrains and SRAM Red eTap. The company grew organically and through acquisitions to become a high-end cycling component brand, selling under the brands SRAM, Avid, RockShox, Truvativ, Quarq, and Zipp. Their components are manufactured primarily in-house, in factories located in Portugal, Taiwan, China, and the U.S., and distributed and sold as Original equipment manufacturer (OEM) equipment and aftermarket components in markets globally. On March 1, 2004, SRAM purchased Avid, a well-known designer and manufacturer of bicycle brake components. Its current line-up includes mechanical disc brakes, rim brakes, levers, cables and maintenance products for a range of uses including MTB and cyclocross. They also produce two road bike disc brakes. As with RockShox, Avid's product development continued in Colorado Springs while marketing and sales divisions were moved to Chicago

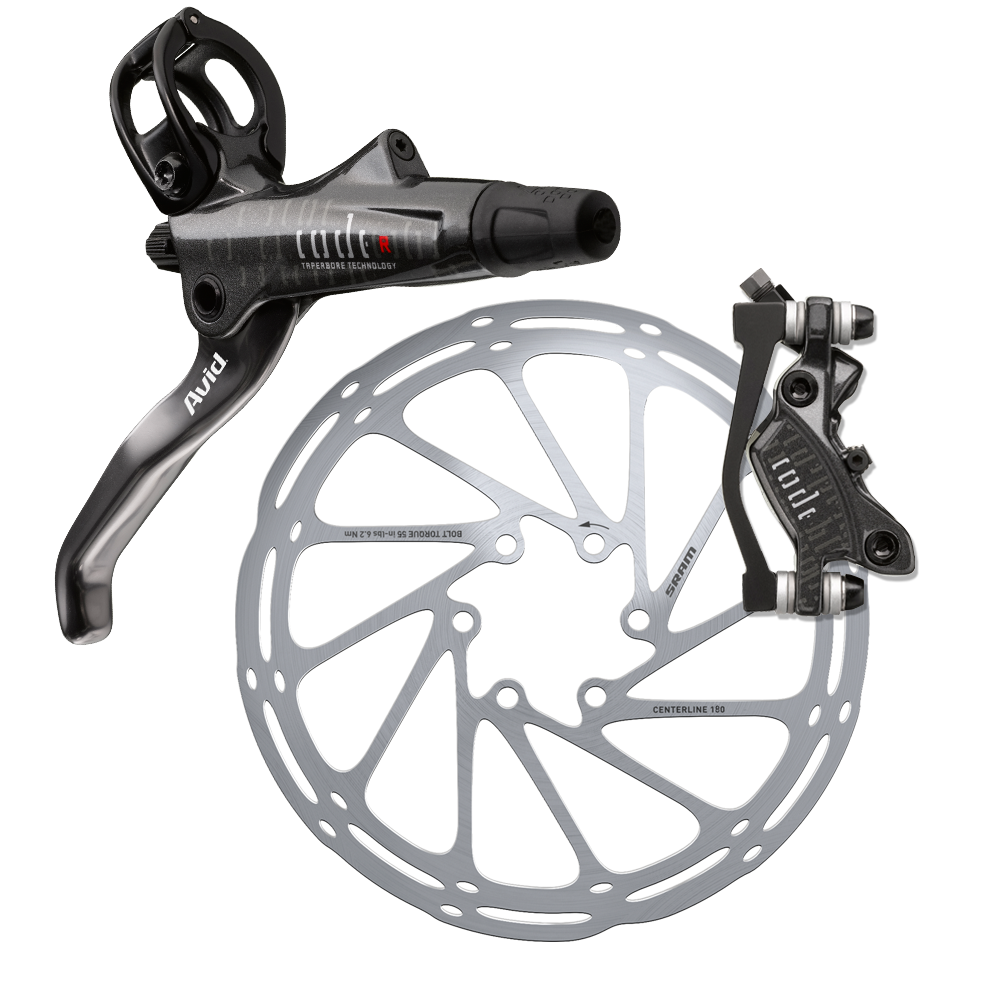
Gravity is your friend—but sometimes you have to keep it in check. CODE brakes give you the freedom to let it all hang out on the most fearsome freeride or downhill terrain while knowing you’re always in control. With reliable TaperBore lever technology and a beefy 4-piston caliper design—all in a package that weighs less than many XC brakes—CODE gives you the confidence to go out there and pin it
SETUP
Step1: Planning for the right setup
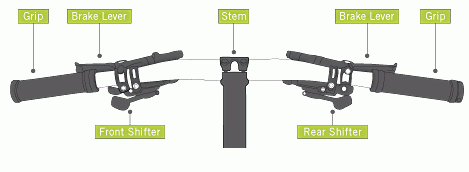
Determine your preference for the component placement on your handlebar
Note: This is the typical setup that the vast majority of riders use, but it's not the only way to do it. Some people prefer the shifters to be "outboard" from the brake levers
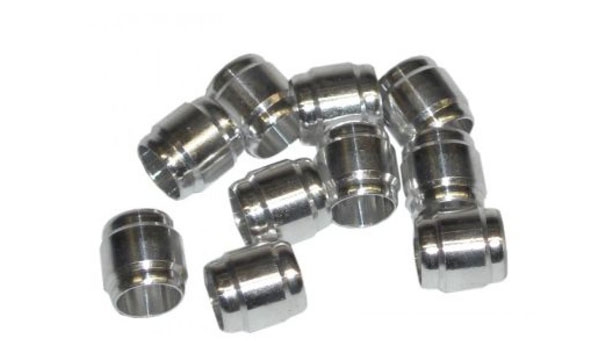
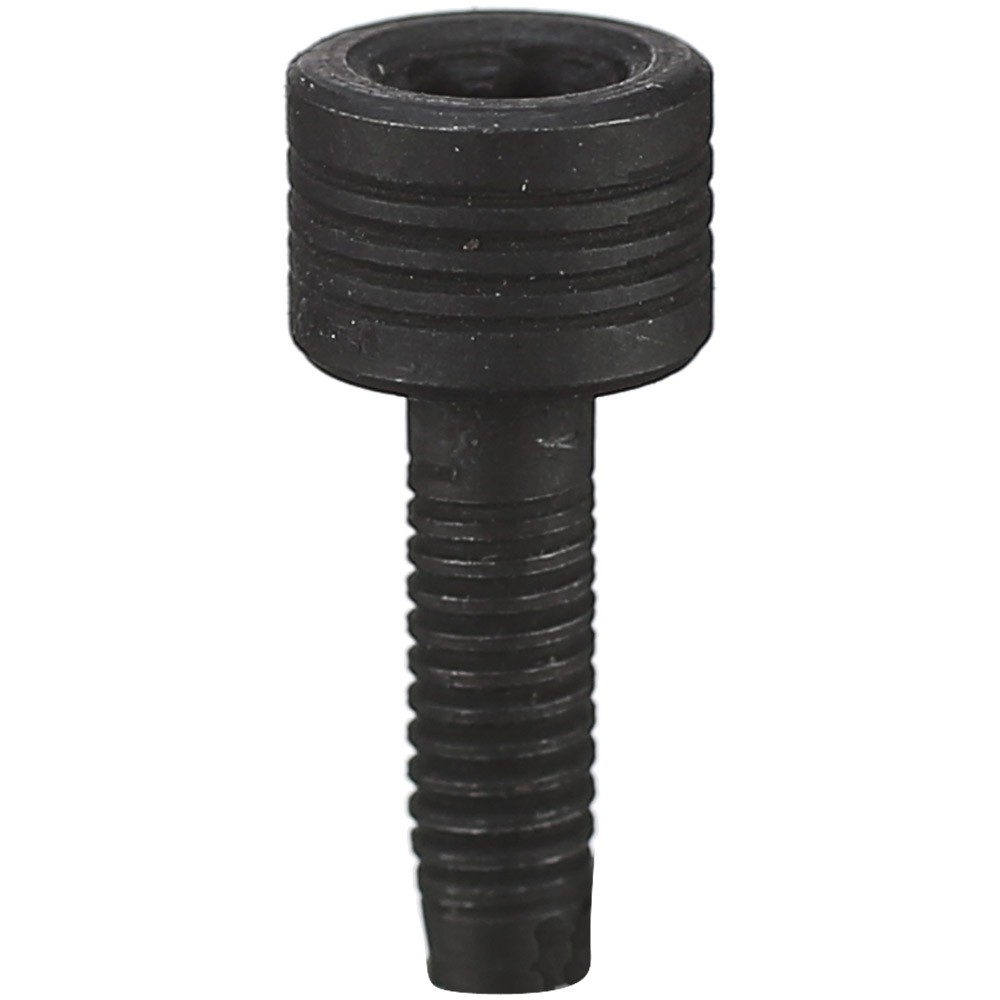
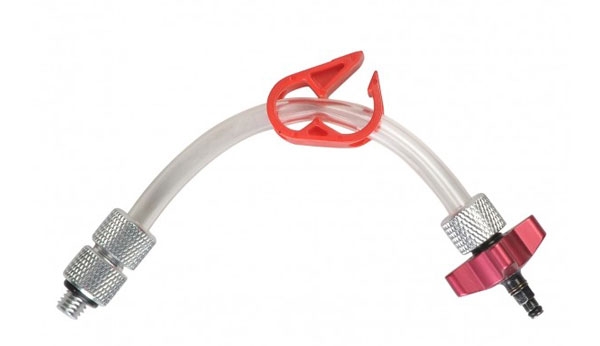
Note: If you are starting from scratch and you need to install your Avid brakes, refer to your installation guide with the brakes
Step2: Setting Angle and Spacing of Brake Levers

A. Pick a place where you can sit on the bike in a riding position. Keep your tools within arm's reach, because you'll need them in a second
B.Start by placing one of your hands on the handlebar so that the heel of your hand is lined up with the end of the bar. Keep all of your fingers wrapped around the bar except your forefinger. Extend it out like you are pointing at something. While you are pointing, slide the brake lever and position it so the bend of the lever blade lines up with the base of the first knuckle on your finger. At this point, your finger may not reach the lever perfectly, but line it up so that it will when we adjust the reach in a moment.
C. Now check to make sure your finger is in a straight line with your arm, and that the lever blade just touches the bottom of your finger. Once everything is lined up, tighten your lever bolt.
Note: This is the part of the process that people get wrong more than any other. Because it looks tidy, people tend to position the brake lever against the grip. That actually creates a problem because it positions your fingers too close to the pivot of the lever. The closer your fingers are to the pivot on the blade, the less leverage you have which translates into dramatically less power and more hand fatigue. You are much better off using the end of the lever, because that gives you the best leverage. If you follow the steps above, your grip and lever clamp will likely be further apart than you are used to. That's okay though. It's just the sign of someone who knows exactly what he or she is doing.
Note: This setup means that most often you'll use one finger to brake, which may be new to you. Rest assured, this is the right way to go. Using one fi nger to brake allows the others to keep a firm grip on the handlebar. When Avid brakes are set up in this fashion, you will have all the braking power you'll ever need. And by the way, you will find that the lever is still close enough to use your middle finger as well, if that's the way you want to roll
Step3: Reach Adjustment

On Avid brakes the reach adjustment is always going to be a knob on the front of the lever, or a hex wrench bolt near the pivot. The goal here is to position the lever's bend exactly at the base of your first knuckle on your forefinger, so turn the reach adjuster until you get there
Step4: Contact-Point Adjustment
If you are the lucky owner of an Avid brake with Contact-Point Adjustment, then you aren't done dialing in the goodness quite yet. This one-of-a-kind feature allows you to adjust the point in the lever's throw where the pads contact the rotor. It is not reach adjustment. Reach adjustment moves the lever so your finger reaches the lever nicely. Contact-Point Adjustment adjusts the place where the brake fi rms up and grips the rotor. Ideally, you want to adjust that spot to where your hand's grip is strongest. Because everyone's hand is a bit different, it's nice to be able to select your own, perfect contact point. So, turn the adjuster until you feel like the contact is right where your hand feels strongest in your grip.
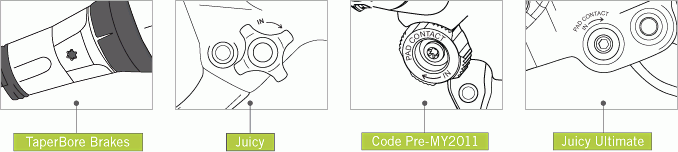
Note:There are a few different Contact-Point Adjusters on the various models of Avid brakes. If you're not sure where yours is, consult your owners manual
Note:The Contact-Point Adjustment DOES NOT move the pads
Step5: Match the Other Side
Now, set up the other side of the bar by matching the spacing of the clamps on the side you just completed. Visually adjust the vertical angle of the lever so it matches side one as well
Note: Contact-Point Adjustment is also used to "even out" the levers, so the spot where each lever's throw firms up is the same. It just feels right. And while you're adjusting, take note – no matter what you do to the contact point, the reach never changes
Step6: Position Shifters
Your brake levers are in position—now it's time to move the shifters into place. It's very easy. All you need to do is grip the bars like you are riding again, and extend your thumb like you are going to shift. With your thumb extended, just move the shifter until it touches it in a comfortable spot. It's okay for this to feel like a little bit of a stretch, because you don't shift as often as you brake, and you still have four fingers on the bar anyway
Note: If you are using Grip Shift shifters the steps above obviously change a bit. Since the location of the shifter is predetermined, you can skip this step
Step7: Ride
You've now completed a setup procedure that's sure to enhance your braking control dramatically, so get out there and start riding. This is the way braking should be. Enjoy it!